If you’re ever in a position where you need to change the DNS settings on your VMware Identity Manager (vIDM) appliance, you may have noticed that vRealize Suite Lifecycle Manager (vRSLCM) doesn’t provide you with this mechanism. Luckily, the vIDM appliance itself contains “OVF Properties” within the vSphere UI. You can shutdown the appliance and modify these settings to allow the appliance network configuration to re-apply your new configurations to the guest.
Note: Shutdown your vIDM solution using vRSLCM and take a snapshot.
- In the vSphere UI find your vIDM appliance. Shut it down and take a snapshot if you haven’t done so already.
- With your vIDM appliance selected, click Configure and click vApp Options.

- In the right-hand pane, scroll down and select
vami.DNS.IdentityManagerunder the Properties heading.
- Scroll back up and click Set Value.

- In the dialog that appears, enter the new DNS server that you want vIDM to use and click OK.

- Scroll down again and check the value has been set.

- Power on the vIDM VM.
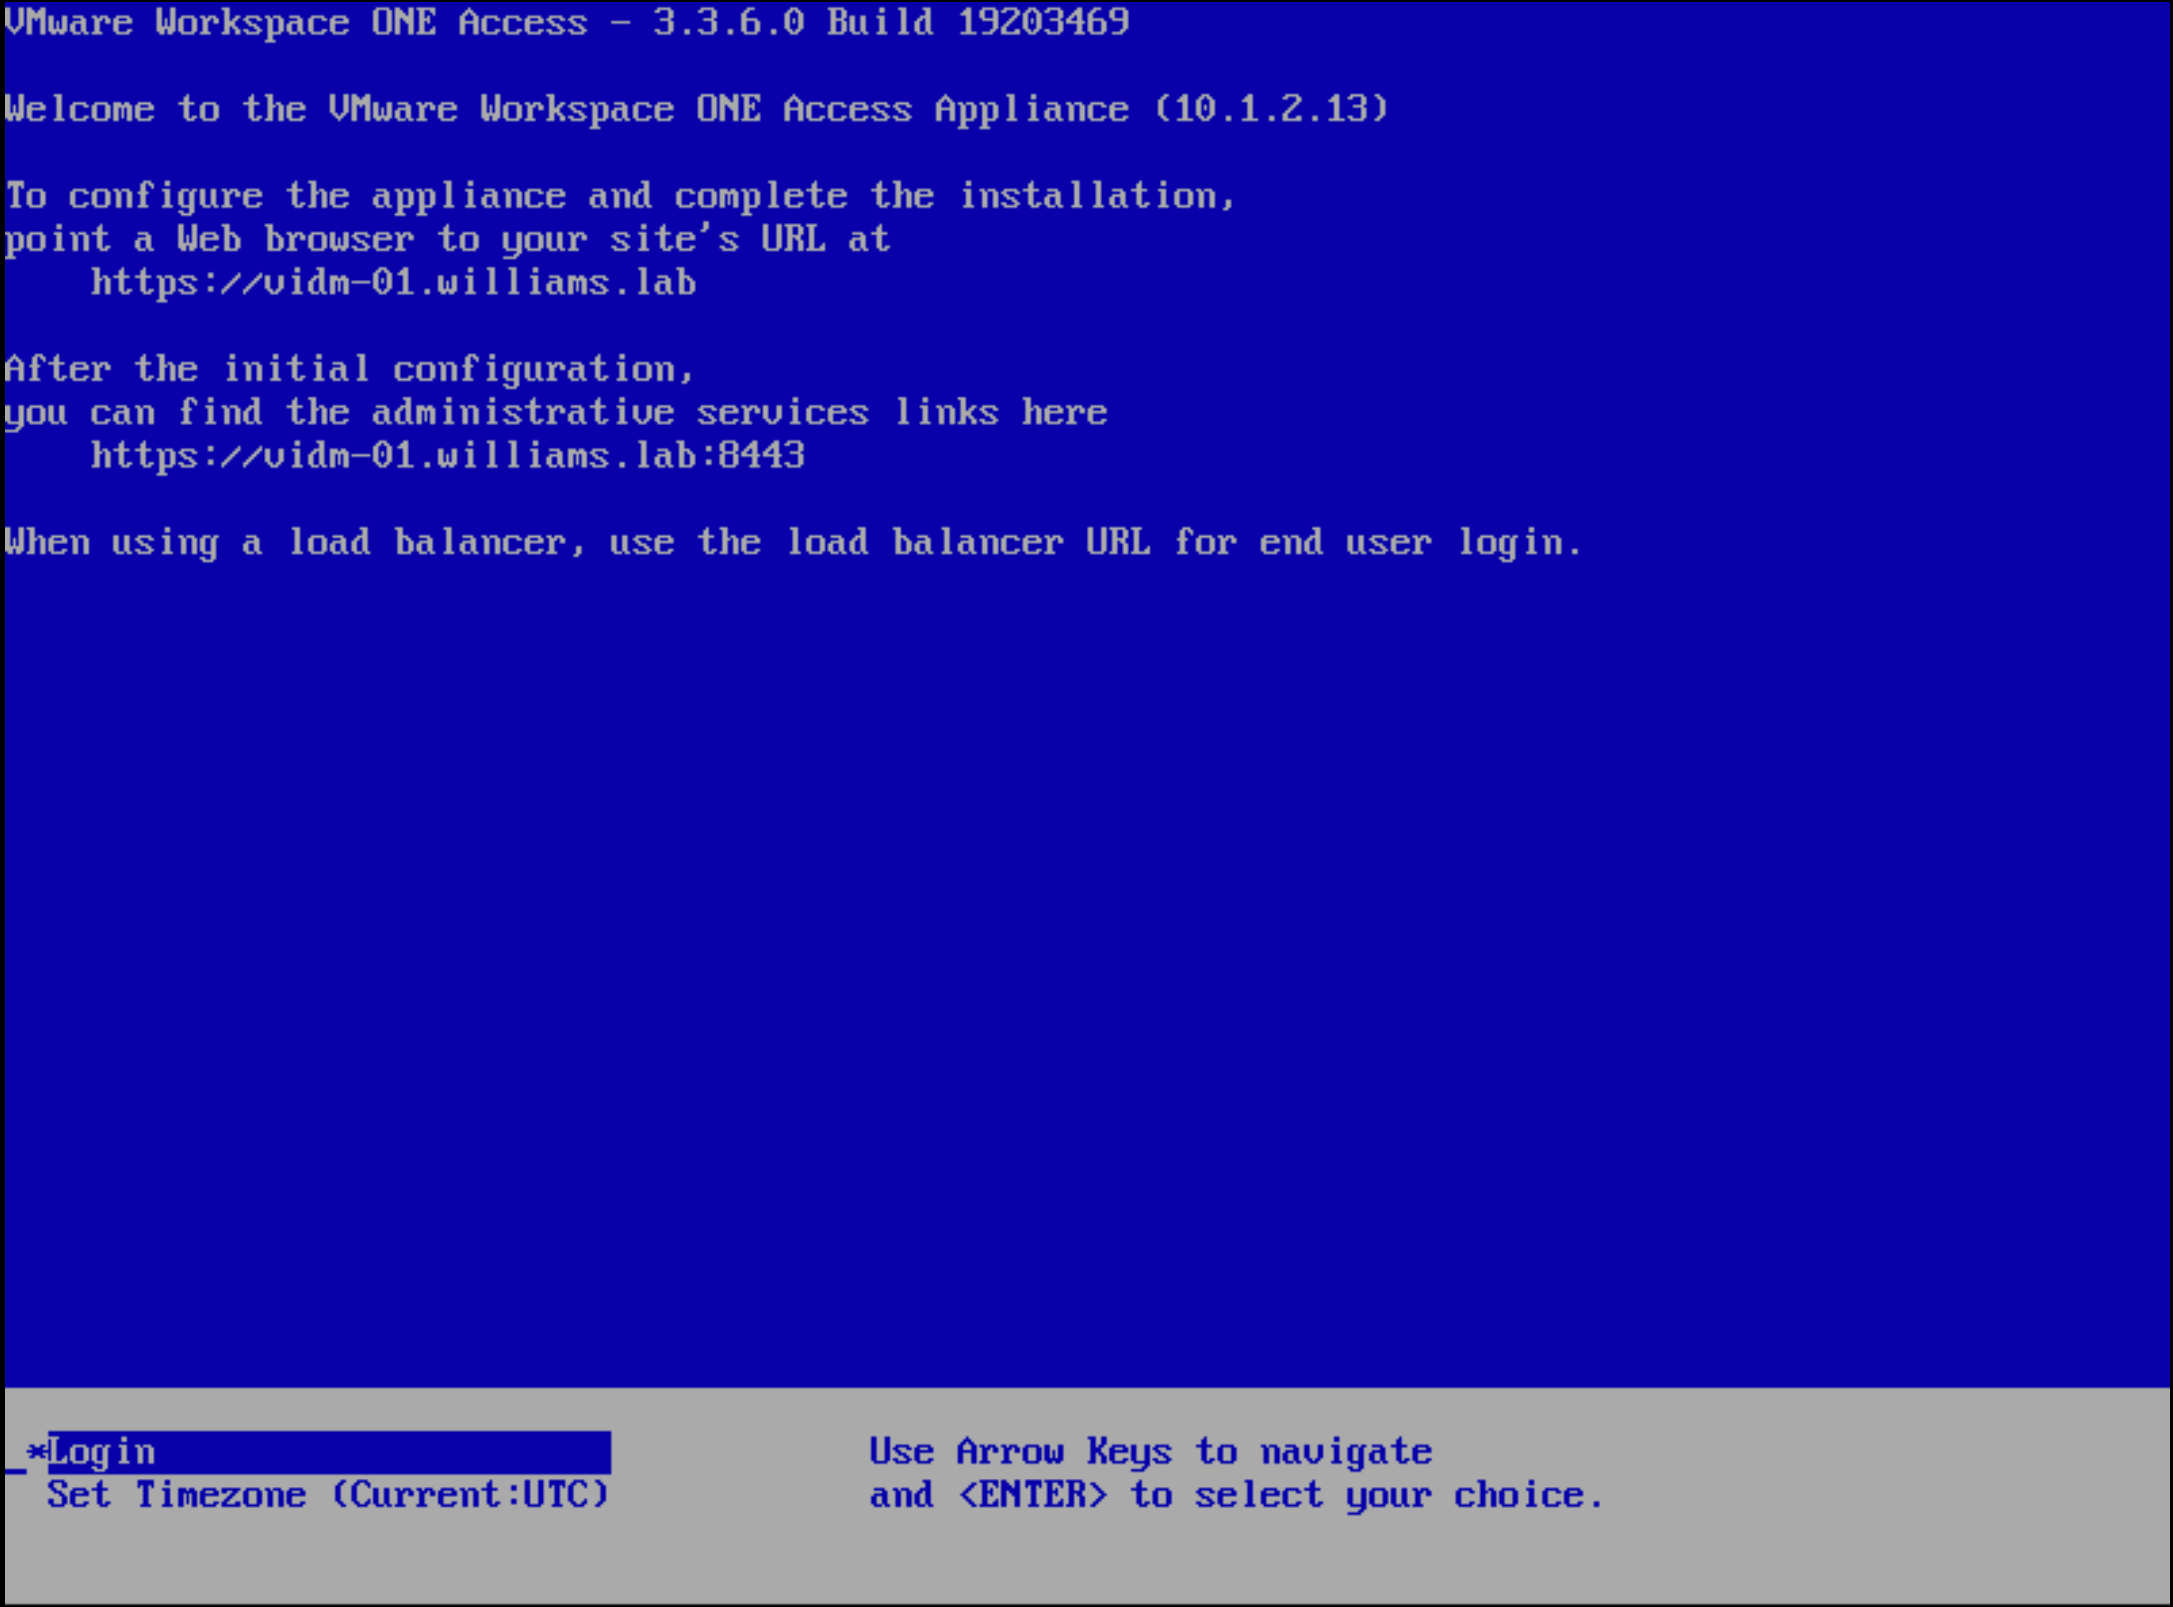
- Once all services have started you’ll be presented with the appliance DCUI.

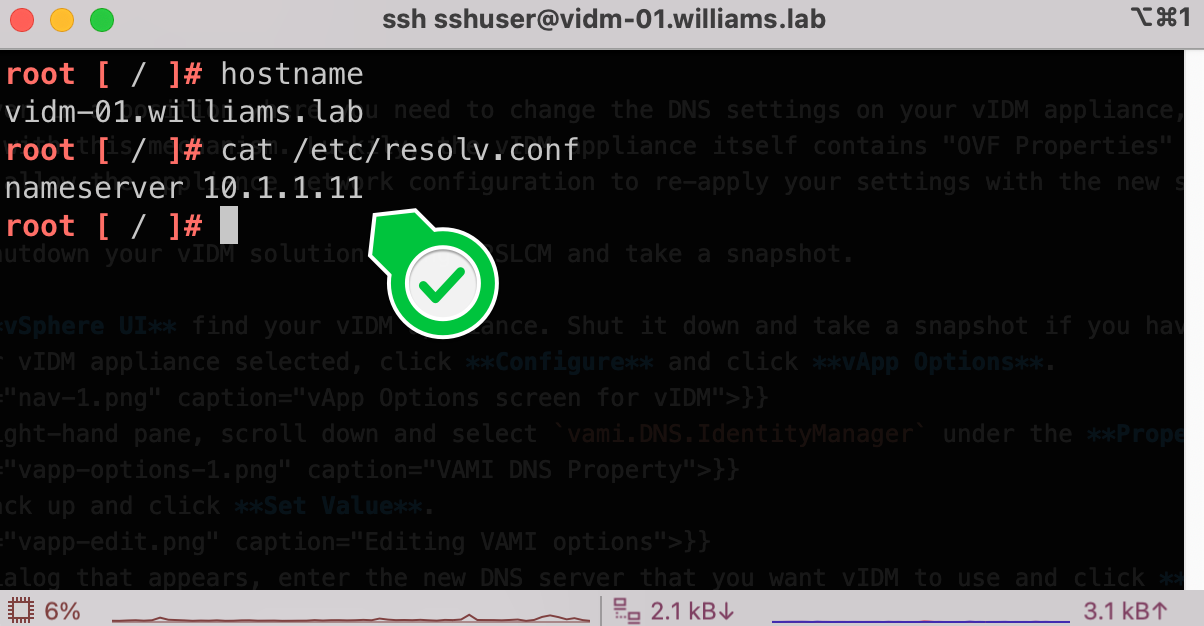
- To confirm the DNS changes have taken effect you can SSH to the server and run
cat /etc/resolv.confto see the new DNS server details.
If you run through this process and you end up with a red warning on the DCUI advising you that the VAMI config script failed to run, just perform a guest OS restart through vSphere and it’ll come back up OK.
If you followed the steps and the DNS settings do not change as expected, you will need to delete the following file from the vIDM machine before you shut it down:
| |